Cloud Atlas or Open Sky: Two Ways to Learn Cloud Names
Learn cloud names with a field guide and a week of observation, building clear descriptions while keeping cloud identification separate from forecasts.

The common mistake when learning cloud names is to treat a reference picture as a forecast: see a named cloud, then expect a particular change in weather. That shortcut can leave you with a confident label and a poor description of the sky in front of you. Cloud names work best as a language for appearance; a guide and a steady observation routine can teach that language in different, complementary ways.
A cloud reference guide gives you comparison images, terminology, and a way to check a first impression. Repeated observation trains you to notice how forms look from your own yard, street, or bus stop as light and viewing angle change. Over a week, use both methods to build a modest vocabulary, not to make predictions.
What does a cloud name describe?
Cloud names group visible forms by features such as shape, height, and arrangement. Terms such as cumulus, stratus, and cirrus are useful starting points: they point toward puffy heaps, broad layers, or wispy strands. Real skies can combine or blur those appearances, so a label is a concise description, not a claim that every cloud fits one neat picture.
Begin with what you can see before reaching for a name. Is the cloud a distinct lump or a continuous sheet? Are its edges sharp or blurred? Does it appear in isolated patches, rows, or a broad spread? These observations stay useful even if you later revise the identification.
Keep a separate note for weather impressions. A cloud label does not, by itself, tell you what will happen next. If you need a forecast for a decision, check an appropriate local weather service rather than inferring one from a name.
How does a cloud reference guide help?
A printed field guide or a reputable cloud-identification chart gives you a set of examples to compare. Look for a guide that shows several views of a cloud form and explains the features used to distinguish it. A clear drawing can be more useful than a dramatic photograph, which may show unusual lighting or a tight crop that hides the cloud’s broader arrangement.
Use the guide to narrow possibilities, not to force a match. Compare the overall structure first, then check details such as whether a layer is smooth, rippled, or broken into separate elements. If two names seem plausible, record both as possibilities and write down the visible difference you would need to check.
A reference is especially useful when you meet unfamiliar vocabulary. It can explain how a broad cloud family relates to a more specific form, while showing that a common name may cover a range of appearances. Keep the guide open beside your notes, but look up at the sky more often than down at the page.
What can repeated observation teach?
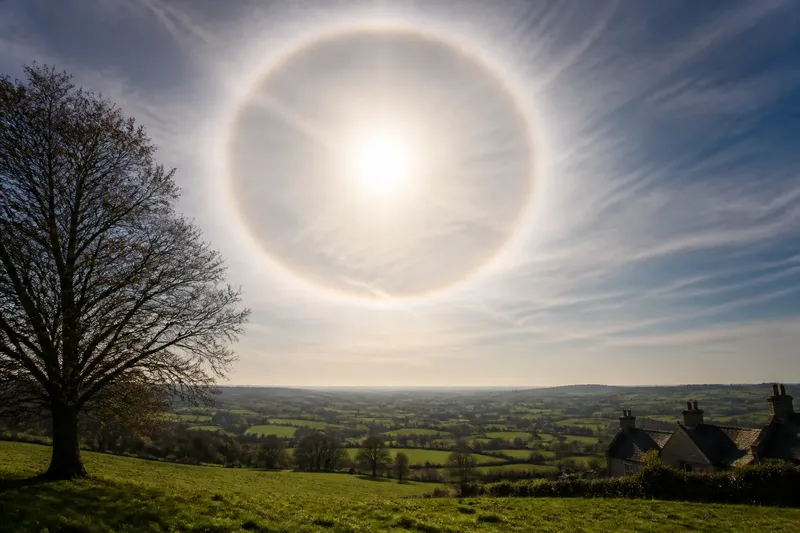
Watching the sky repeatedly teaches you to notice variation that a single reference image cannot capture. A cloud may look compact from one position and spread out from another; low sunlight can make its outline stand out, while flat light can soften it. Returning to a familiar viewing place helps you separate changes in the sky from changes in your viewpoint.
Observation also makes description more precise. “A gray cloud” leaves much unsaid; “a low, continuous gray layer with a ragged edge” gives another observer a clearer picture without requiring a confident formal name. You can add a tentative label afterward and revise it when a guide or a later view suggests a better fit.
Imagine you notice a row of small, rounded cloud patches above the rooftops on a morning walk. You jot down “separate, rounded patches in a loose row,” then check a cloud chart at home and find more than one possible match. On the next walk, you pay attention to whether the patches remain distinct or merge into a sheet; the new note improves your description without turning either name into a forecast.
Which method should you use for each question?
Choose the guide when your question is about vocabulary: “What features separate these two cloud forms?” Choose observation when your question is about what is visible at a particular place and time: “Are these patches isolated, or are they part of a larger layer?” You do not need to choose one method for every outing.
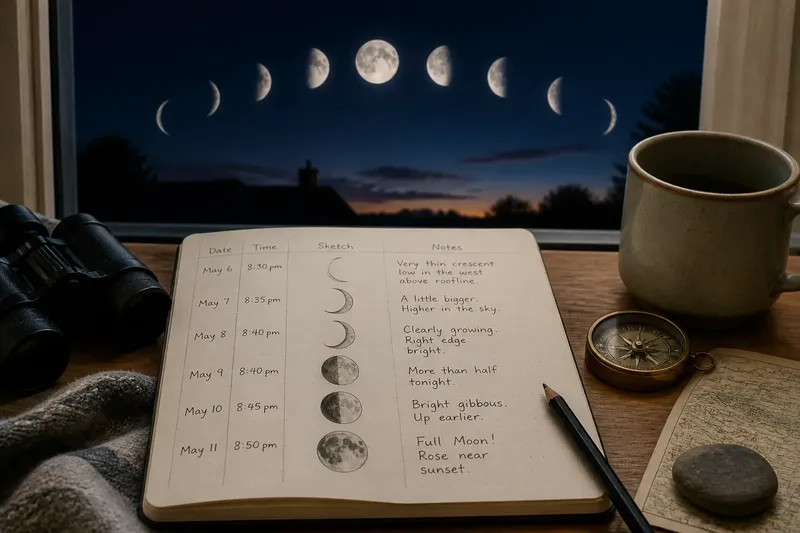
When a name feels uncertain, write the evidence first and the label second. A simple note can include the date, approximate time, viewing location, cloud arrangement, and one or two visible details. You do not need specialized equipment; a pocket notebook or a notes app is enough, and a sketch can help you remember spacing or shape.
Keep the categories of claim distinct:
- Observation: a visible detail, such as “thin strands crossing a broad patch of sky.”
- Identification: a possible name, marked as tentative when the match is unclear.
- Forecast: a separate judgment about future conditions, best checked with a weather forecast when it matters.
How can a one-week cloud-name routine work?
Use the same general viewing spot when convenient, but do not wait for a particular kind of cloud. A week of short looks can build a useful comparison set, whether the sky is covered, partly open, or mostly clear. If clouds are absent, note that plainly; a blank sky is not a failed lesson.
- Day one: describe without naming. Look for the broad arrangement—isolated forms, a layer, or wispy streaks—and write down a couple of visible qualities.
- Day two: choose a reference. Compare your notes with a printed guide or identification chart. Mark one possible family, and note what feature supports the match.
- Day three: check the edges. Observe whether cloud boundaries look crisp, ragged, smooth, or blurred. Add what you see, without treating it as a sign of what the weather will do.
- Day four: look for arrangement. Notice whether forms sit alone, repeat in rows, overlap, or merge. Sketch the pattern if that is easier than describing it.
- Day five: compare light and viewpoint. If practical, look again from a different position or later in the day. Record how the appearance changes and avoid assuming that every change means the cloud itself has changed.
- Day six: revisit a tentative label. Use the guide to check the feature you were unsure about. Keep the original description even if you change the name.
- Day seven: write a compact sky note. Put the visible description first, the possible cloud name second, and any uncertainty in plain language. Leave predictions out of the identification note.
These are prompts, not appointments: a glance from a doorway can count, and you can repeat a day’s prompt when the sky does not offer a useful view. The point is to practice looking carefully, not to collect a complete catalogue of cloud types in a week.
What questions come up while learning cloud names?
Do I need a cloud atlas to identify clouds?
No. You can begin by describing shape, arrangement, and edges in ordinary language, then consult a reliable chart when you want to compare names. A reference helps with vocabulary, but it does not replace the view in front of you.
Why can one cloud look different from a guide picture?
Guides show selected views, while your sky includes changing light, distance, and viewing angles. Compare the cloud’s broad structure and arrangement rather than expecting an exact photographic match.
Should I write a cloud name if I am unsure?
Yes, if you mark it as tentative and keep the observable details beside it. “Possibly a low layer; unbroken with a ragged edge” is more useful than presenting a doubtful name as certain.
Can a cloud name tell me what the weather will do?
A name describes a cloud’s appearance; it is not a dependable forecast by itself. For plans affected by weather, consult a current local forecast and treat your sky notes as observations.
How can you make your notes clearer over time?
Use familiar words before adding specialized terms. “Thin,” “broken,” “rounded,” and “layered” give you a dependable description; a technical label can make it more compact once you know which features support it. If you share notes with someone else, include the viewing direction or a quick sketch only when it clarifies the arrangement.
Do not turn every look into a naming exercise. Some skies offer ambiguous forms, and some observations are most honestly recorded as “mixed patches” or “a broad, uneven sheet.” A careful description can be accurate even when the label remains unsettled.
By the end of the week, your cloud names should sit alongside—not replace—your observations. Keep using a guide to check vocabulary and return to the sky to refine what you notice; that combination makes cloud identification more precise while leaving forecasts to the tools designed for them.